Chapter 11: Installation & Debugging
Successful installation and debugging of a network identity authentication system requires careful preparation, adherence to physical installation standards, and a systematic approach to configuration and testing. This chapter covers the complete installation workflow from pre-installation site preparation through post-installation verification, with particular emphasis on the physical installation requirements that are most frequently overlooked in field deployments. The debugging section provides a structured troubleshooting methodology for the most common failure modes encountered during initial deployment.
11.1 Installation Requirements
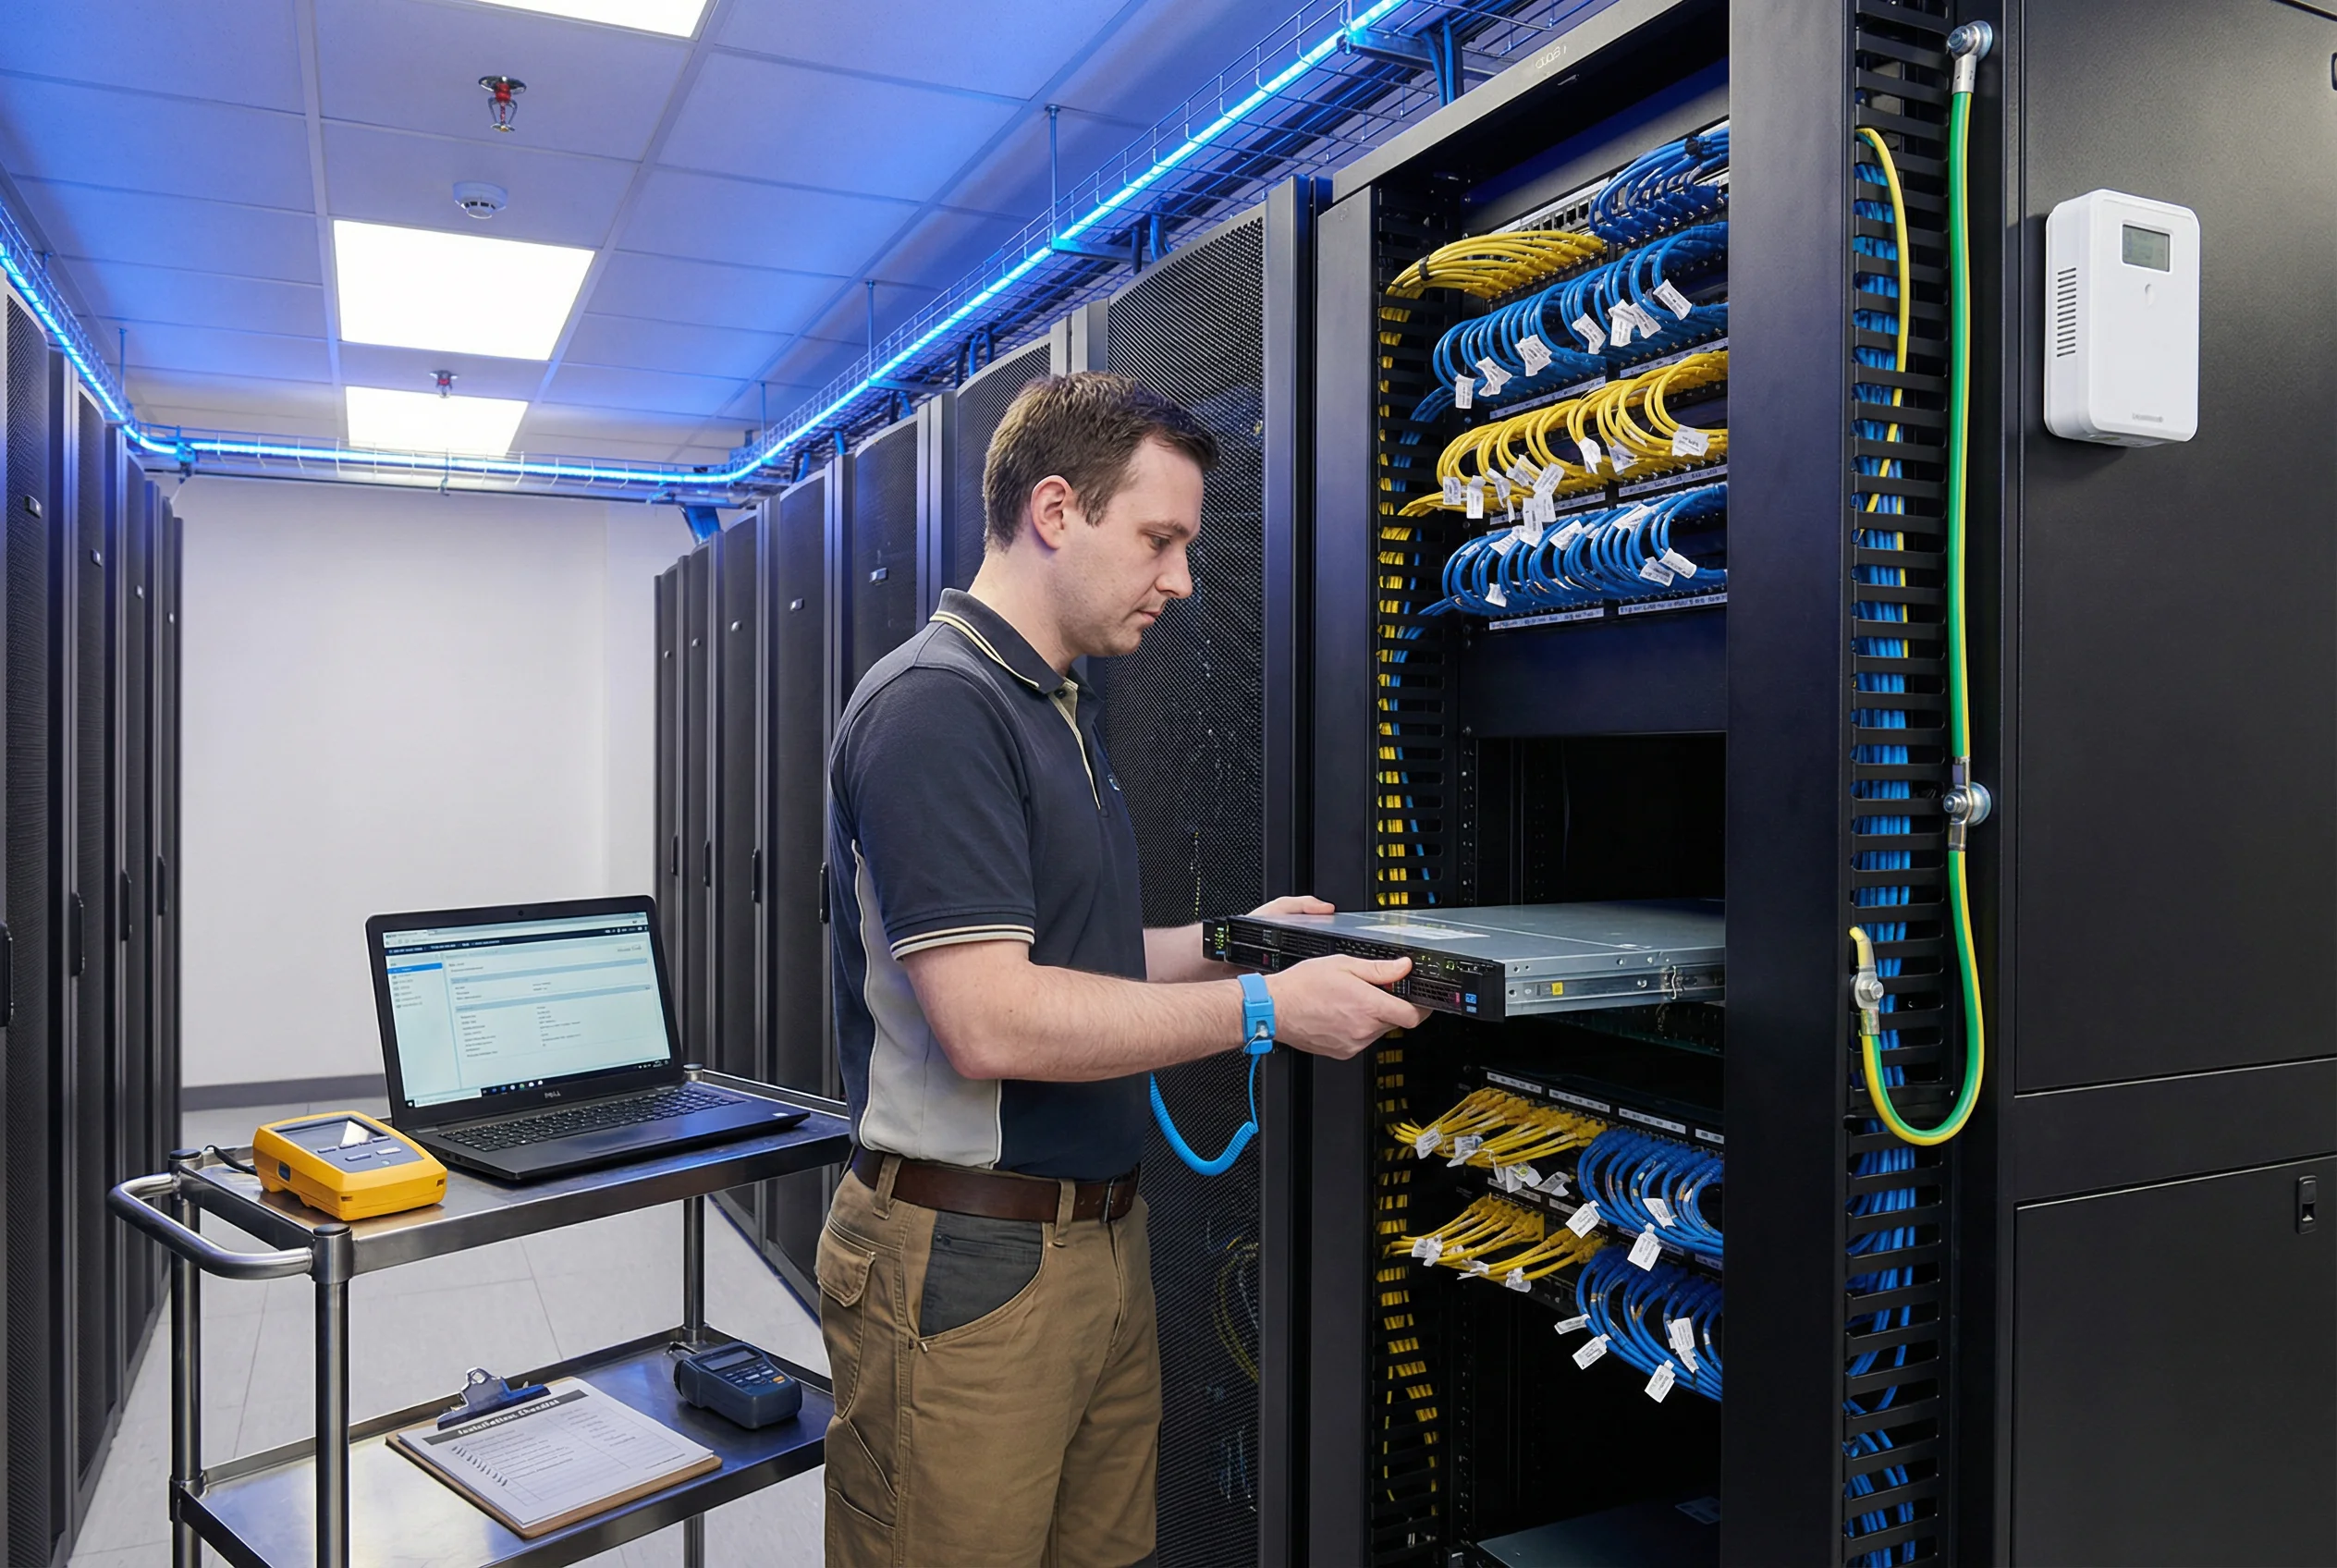
The installation requirements image below illustrates the key physical and environmental conditions that must be met before and during installation. Meeting these requirements is a prerequisite for acceptance testing and directly impacts long-term system reliability. Site engineers must complete the pre-installation checklist before beginning rack installation.
| Requirement Category | Specification | Verification Method | Responsible Party |
|---|---|---|---|
| Room Temperature | 18–27°C (64–80°F); ASHRAE A1 class | Calibrated thermometer at rack inlet; log for 24 h before installation | Facilities |
| Relative Humidity | 40–60% RH; non-condensing | Calibrated hygrometer; log for 24 h | Facilities |
| Power Supply | 208V or 120V AC; dual-feed A+B; UPS protected; ±5% voltage tolerance | Multimeter voltage measurement; UPS transfer test | Facilities / Electrician |
| Rack Grounding | Rack bonded to building earth ground; resistance < 1 Ω | Ground resistance meter measurement | Electrician |
| Network Connectivity | All required VLANs pre-configured on uplink switches; firewall rules staged | VLAN connectivity test from management laptop before server installation | Network Team |
| ESD Protection | ESD wrist strap required for all hardware handling; ESD mat at workstation | ESD strap tester verification before each session | Installation Engineer |
| Physical Security | Rack in locked cage or locked room; access log required; camera coverage | Physical inspection; access log review | Security Team |
| Cable Certification | All Cat6A cables certified to TIA-568-C.2; test results retained | Cable certifier report; NEXT/FEXT/length results | Cabling Contractor |
11.2 Step-by-Step Installation Sequence
The installation sequence must be followed in order to ensure that each component is available when needed by subsequent steps. Deviating from the sequence — for example, attempting to configure RADIUS before AD integration is verified — is the most common cause of extended deployment timelines. The sequence below represents the validated best-practice order for a greenfield deployment.
| Step | Activity | Prerequisites | Verification | Est. Duration |
|---|---|---|---|---|
| 1 | Physical rack installation and cabling | Site requirements met; rack grounded; power available | Cable certifier pass; power-on self-test OK | 4–8 hours/rack |
| 2 | OS and software installation on RADIUS/NAC servers | Physical installation complete; management network reachable | SSH access from PAM jump server; NTP synchronized | 2–4 hours/server |
| 3 | PKI/CA installation and root certificate issuance | HSM installed and initialized; offline root CA procedure ready | Root CA cert issued; sub-CA signed; OCSP responder responding | 1–2 days |
| 4 | AD/LDAP integration and service account configuration | AD domain available; LDAPS enabled; service account created | LDAP bind test successful; group query returns correct results | 2–4 hours |
| 5 | RADIUS server configuration (EAP, policies, VLAN) | PKI and AD integration complete; NAS IP list ready | eapol_test authentication success; VLAN assignment verified | 4–8 hours |
| 6 | Switch 802.1X configuration (authenticator) | RADIUS server configured and reachable; VLAN IDs defined | 802.1X auth success on test port; VLAN assignment correct | 1–2 hours/switch |
| 7 | Wireless controller and AP configuration | RADIUS server configured; SSID design approved | EAP-TLS auth on test SSID; correct VLAN assignment | 2–4 hours |
| 8 | NAC platform configuration and device profiling | RADIUS integration complete; MDM API credentials available | Device profiling working; posture assessment functional | 4–8 hours |
| 9 | PAM platform configuration and TACACS+ integration | RADIUS and AD integration complete; network devices reachable | PAM session to test device; TACACS+ command authorization working | 4–8 hours |
| 10 | SIEM integration and log verification | All components operational; SIEM credentials available | Auth events visible in SIEM within 60 s; correct CEF format | 2–4 hours |
11.3 Debugging Methodology and Common Issues
A systematic debugging methodology is essential for efficient troubleshooting. The recommended approach follows a layered model: start at the physical layer and work upward through the network, protocol, and application layers. Most authentication failures can be traced to one of six root cause categories, and the following table provides a structured diagnostic path for each category.
| Symptom | Root Cause Category | Diagnostic Steps | Resolution |
|---|---|---|---|
| EAP-TLS auth fails with "certificate verify failed" | PKI / Certificate | 1) Check RADIUS server logs for cert error; 2) Verify client cert chain to trusted CA; 3) Check OCSP response; 4) Verify cert SAN matches expected identity | Re-enroll client cert; add CA to RADIUS trust store; fix OCSP connectivity |
| Auth succeeds but wrong VLAN assigned | Policy / RADIUS attribute | 1) Check RADIUS Access-Accept attributes (Tunnel-Private-Group-ID); 2) Verify AD group membership; 3) Check RADIUS policy rule order | Fix AD group membership; correct RADIUS policy; verify VLAN ID mapping |
| Auth fails with "No response from RADIUS" | Network / Firewall | 1) Ping RADIUS from NAS; 2) Check firewall rules (UDP 1812); 3) Verify RADIUS shared secret matches; 4) Check NAS IP whitelist on RADIUS | Add firewall rule; correct shared secret; add NAS IP to whitelist |
| Intermittent auth failures during peak hours | Capacity / Performance | 1) Check RADIUS CPU/memory during peak; 2) Measure auth/s vs. capacity; 3) Check LDAP query latency; 4) Review RADIUS thread pool settings | Scale RADIUS cluster; optimize LDAP queries; increase thread pool |
| CoA not working after policy change | CoA / Network | 1) Check RADIUS CoA log; 2) Verify switch accepts CoA (UDP 3799); 3) Check CoA shared secret; 4) Verify switch NAS-IP matches RADIUS config | Fix firewall rule for UDP 3799; correct CoA shared secret; fix NAS-IP |
| Kerberos auth fails after NTP change | Time Synchronization | 1) Check clock skew between all servers; 2) Verify NTP sync status; 3) Measure offset with ntpq or chronyc | Fix NTP configuration; force time sync; restart Kerberos services |